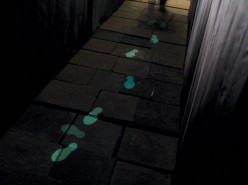
We decided to construct the main part of the installation on a 1:1 scale. It allowed us to experiment with different scenarios and test what technology could work better for the installation.
The prototype is activated by a series of switches (sensors) that are set on the ground. The switches are activated by stepping on them.
The switches were made with metallic tape and wires. All of this switches control the projector except for one switch placed outside the sotoportego. This switch is placed on top of the sotoportego’s entrance. It starts the experience by activating the door opening sound and gets the attention of the user by turning on the light.
We placed a light on top of the sotoportego’s entrance. This light is made from several LEDs (around 16). We hacked two small flashlights in order to do this light.
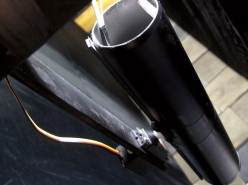
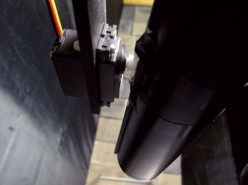
In order to use mechanical projectors for the whole prototype we would need more servomotors. Also because we weren’t sure how much time building one prototype would take us we decided the safest bet was to build one and test it. This projector is made up of two servomotors, two 44000 MCD LEDs, two plastic tubes and a structure made from forex. An Arduino sketch that communicates with Processing controls the movement of the servomotors. A detailed explanation is available in the link provided in the first paragraph.
Here below a video of how the projectors work.
For a detailed explanation on how the prototype was built and for pictures of the process click here.
A little how-to guide to better understand all the different parts are made is here.
The following slideshow contains images of the prototype. For a full view mode go here.
Routes | Concept | Experience | Prototype | Technology | Code | Early Experiments |
Critical Reflection | Downloads | Credits


